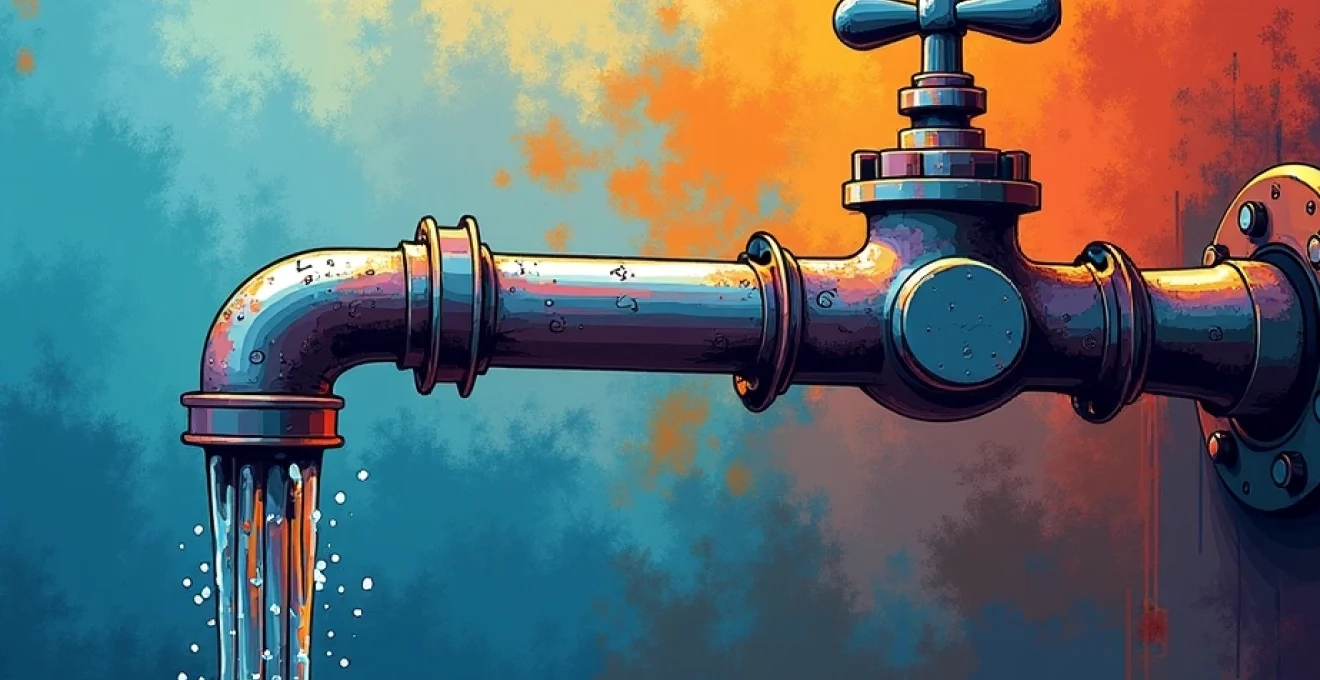
Water leaks in your home’s plumbing system can lead to significant damage and expensive repairs if left unchecked. From minor drips to major pipe bursts, these issues demand immediate attention to prevent structural damage, mold growth, and skyrocketing water bills. Understanding the various types of leaks, their causes, and effective repair methods is crucial for maintaining a healthy plumbing system and protecting your property investment.
Plumbing leaks can occur in various locations throughout your home, each presenting unique challenges and repair requirements. By familiarizing yourself with common leak types and their telltale signs, you can take swift action to mitigate potential damage and address the root cause effectively.
Identifying common plumbing leak types and their causes
Plumbing leaks can manifest in several forms, each with distinct characteristics and underlying causes. Some of the most prevalent types include:
- Pipe joint leaks
- Pinhole leaks in copper pipes
- Corroded pipe sections
- Faulty valve seals
- Loose fixture connections
Pipe joint leaks often occur due to improper installation, thermal expansion, or deterioration of sealing materials over time. These leaks typically appear at connection points between pipes or fittings and can range from slow drips to steady streams of water.
Pinhole leaks, particularly common in copper pipes, are tiny perforations caused by corrosion or water quality issues. While these leaks may seem insignificant at first, they can quickly escalate and cause extensive damage if left unaddressed.
Corroded pipe sections are a result of long-term exposure to aggressive water conditions or chemical reactions within the pipes. As corrosion progresses, it weakens the pipe walls, leading to leaks and potential pipe failure.
Faulty valve seals can cause leaks around shut-off valves, faucets, and other plumbing fixtures. These leaks often stem from worn-out rubber gaskets or O-rings that no longer provide an adequate seal.
Loose fixture connections, such as those found in sinks, toilets, or appliances, can result in water seepage and gradual damage to surrounding areas. Regular inspection and tightening of these connections can prevent many potential leaks.
Essential tools and techniques for DIY leak detection
Detecting plumbing leaks early is crucial for minimizing damage and repair costs. While some leaks are obvious, others may remain hidden behind walls or under floors, making them challenging to locate. Fortunately, several tools and techniques can help homeowners identify leaks before they become major issues.
One of the simplest methods for detecting leaks is to monitor your water meter. Turn off all water sources in your home and check the meter. If it continues to move, you likely have a leak somewhere in your system. This method is particularly useful for identifying hidden leaks that might otherwise go unnoticed.
Visual inspection is another essential technique for leak detection. Regularly check exposed pipes, fixtures, and appliance connections for signs of moisture, discoloration, or corrosion. Pay close attention to areas under sinks, around toilets, and in basements or crawl spaces where pipes are often visible.
Using moisture meters and infrared cameras for non-invasive inspection
For a more thorough inspection without causing damage to walls or floors, moisture meters and infrared cameras can be invaluable tools. Moisture meters detect excess humidity in building materials, helping to pinpoint areas affected by hidden leaks.
Infrared cameras, also known as thermal imaging devices, can reveal temperature differences caused by water leaks. These cameras display cool spots where water is present, making it easier to locate leaks behind walls or under flooring without the need for destructive investigation.
Pressure testing methods for pipe integrity assessment
Pressure testing is an effective way to assess the integrity of your plumbing system and identify leaks that may not be visible. This method involves pressurizing the pipes with air or water and monitoring for pressure drops, which indicate the presence of a leak.
To perform a basic pressure test, you’ll need a pressure gauge and a way to isolate the section of piping you want to test. Attach the gauge, pressurize the system, and observe any pressure changes over time. A steady decline in pressure suggests a leak somewhere in the tested section.
Acoustic leak detection: employing sonic and ultrasonic devices
Acoustic leak detection utilizes specialized listening devices to detect the sound of water escaping from pipes. These tools can be particularly useful for locating leaks in underground or in-wall piping where visual inspection is not possible.
Sonic leak detectors amplify the sound of water movement, allowing you to pinpoint the source of a leak by listening for changes in volume and pitch as you move along the pipe. Ultrasonic devices, on the other hand, detect high-frequency sounds produced by pressurized leaks, offering even greater sensitivity for small or difficult-to-locate leaks.
Video inspection cameras for inaccessible pipe examination
For a detailed look inside your plumbing system, video inspection cameras provide unparalleled access to hard-to-reach areas. These flexible, waterproof cameras can be inserted into pipes to visually inspect for damage, blockages, or leaks.
Video inspections are particularly valuable for diagnosing issues in sewer lines or main water supply pipes where traditional inspection methods may fall short. The ability to see inside the pipes allows for accurate identification of problems and more targeted repairs.
Step-by-step guide to repairing different leak types
Once you’ve identified a leak, the next step is to address it promptly to prevent further damage. The repair method will depend on the type and location of the leak, as well as the materials involved. Here’s a guide to tackling some common leak types:
Fixing pipe joint leaks: soldering techniques and compression fittings
For copper pipe joint leaks, soldering is often the most effective repair method. This process involves cleaning the pipe, applying flux, heating the joint, and applying solder to create a watertight seal. Here’s a basic overview of the soldering process:
- Clean the pipe and fitting with emery cloth or sandpaper
- Apply flux to both surfaces
- Heat the joint with a propane torch
- Apply solder to the heated joint
- Allow the joint to cool before testing
For those less comfortable with soldering, compression fittings offer a solderless alternative. These fittings use a compression ring and nut to create a seal around the pipe. Simply cut out the damaged section, slide on the compression fitting, and tighten the nuts to secure the connection.
Addressing pinhole leaks with epoxy putty and pipe clamps
Pinhole leaks in copper pipes can often be repaired using epoxy putty or pipe repair clamps. Epoxy putty is a two-part compound that hardens when mixed and can be molded around the leak to create a seal. To use epoxy putty:
- Turn off the water supply and dry the pipe
- Clean the area around the leak
- Mix the epoxy according to the manufacturer’s instructions
- Apply the putty over the leak, smoothing it to form a tight seal
- Allow the epoxy to cure fully before restoring water pressure
Pipe repair clamps offer a quick, temporary fix for pinhole leaks. These clamps consist of a rubber gasket and metal band that can be tightened around the leak to stop water flow. While not a permanent solution, they can buy time until a more comprehensive repair can be made.
Replacing corroded pipe sections: cutting, fitting and sealing
When dealing with extensive corrosion, the best course of action is often to replace the affected pipe section entirely. This process involves:
- Shutting off the water supply and draining the pipes
- Cutting out the corroded section using a pipe cutter
- Measuring and cutting a replacement piece to fit
- Installing the new pipe section using appropriate fittings
- Soldering or using compression fittings to secure the connections
For PVC pipes, the process is similar, but instead of soldering, you’ll use PVC cement to join the pipes and fittings. Always ensure proper ventilation when working with PVC cement, as the fumes can be harmful.
Repairing leaky valves: packing replacement and valve seat resurfacing
Valve leaks often occur due to worn packing material or damaged valve seats. To repair a leaky valve stem, you’ll need to replace the packing:
- Turn off the water supply and remove the valve handle
- Loosen the packing nut and remove old packing material
- Wind new packing material around the valve stem
- Retighten the packing nut and reassemble the valve
For leaks around the valve seat, resurfacing may be necessary. This involves using a valve seat grinder to smooth out any imperfections in the seating surface. In some cases, replacing the entire valve may be more cost-effective than attempting to repair a severely damaged seat.
Professional plumbing services: when to call an expert
While many minor leaks can be addressed through DIY methods, some situations call for professional intervention. It’s essential to recognize when a leak repair is beyond your skill level or when the potential for further damage outweighs the benefits of a DIY approach.
Consider calling a professional plumber in the following scenarios:
- Large-scale leaks or pipe bursts requiring immediate attention
- Leaks in hard-to-reach areas or within walls
- Sewer line leaks or main water line issues
- Persistent leaks that recur despite DIY repair attempts
- Complex repairs involving multiple pipe connections or specialized fittings
Professional plumbers have the expertise, tools, and experience to handle complex leak repairs efficiently and effectively. They can also provide valuable insights into the overall health of your plumbing system and recommend preventative measures to avoid future leaks.
Preventative maintenance strategies to minimize future leaks
Preventing leaks is far more cost-effective than repairing them. Implementing a proactive maintenance strategy can help you avoid many common plumbing issues and extend the lifespan of your system. Consider the following preventative measures:
Regularly inspect visible pipes and fixtures for signs of wear, corrosion, or minor leaks. Early detection can prevent small issues from escalating into major problems. Pay particular attention to areas prone to moisture, such as under sinks, around toilets, and in basements.
Maintain proper water pressure throughout your home. Excessive pressure can strain pipes and connections, leading to leaks over time. Install a pressure regulator if your home’s water pressure exceeds 80 psi.
Soften hard water to prevent mineral buildup in pipes and appliances. Hard water can accelerate corrosion and reduce the efficiency of your plumbing system. Consider installing a whole-house water softener if you live in an area with hard water.
Insulate pipes in unheated areas to prevent freezing and bursting during cold weather. Use foam pipe insulation or heat tape to protect vulnerable pipes in attics, crawl spaces, and exterior walls.
Schedule annual professional inspections to catch potential issues before they become serious problems. A thorough inspection can identify areas of concern and allow for preventative repairs or upgrades as needed.
Water damage mitigation: immediate steps post-leak discovery
Despite best efforts, leaks can still occur. When you discover a leak, taking immediate action can significantly reduce the extent of water damage and associated repair costs. Follow these steps to mitigate damage:
- Shut off the water supply to the affected area or the main water valve if necessary
- Remove standing water using mops, towels, or a wet vacuum
- Move valuable items and furniture away from the affected area
- Open windows and use fans to promote air circulation and drying
- Document the damage with photos for insurance purposes
For extensive water damage or flooding, consider contacting a professional water damage restoration service. These experts have specialized equipment to extract water, dry affected areas, and prevent mold growth.
Remember that even small leaks can cause significant damage over time. Addressing water damage promptly can prevent secondary issues such as mold growth, structural weakening, or electrical hazards. If you’re unsure about the extent of the damage or the best course of action, don’t hesitate to consult with a professional.